...that's right, attending to some unfortunate damage at the base of the rear windscreen.
The completion of the right side of the bodywork allowed us to focus on the gutter corner. Applying a level to the area revealed quite a substantial drop at this point, but using a block of wood and a car jack, we managed to get everything back where it should be.
Brackets and a small steel plate allowed us to tie everything together and incrementally fill with glass.
Alignment of the gutters required a lot of brackets and jiggery pokery
Brackets removed, the broken gutter corner can now be filled with chopped glass - note improvised clamps!
Finished the major work, ready for sanding
At completion, everything was now level. Whilst crucial, of course, none of this is terribly exciting, nonetheless a job well done. Let's move on!
With the lower ledge now level, we decided to test fit the rear screen, just in case there were any issues. Here's where something weird happened...the screen that cam with the car appeared inches short each side and featured a notable curve not matched by the bodywork. IT WAS THE WRONG SCREEN!!!
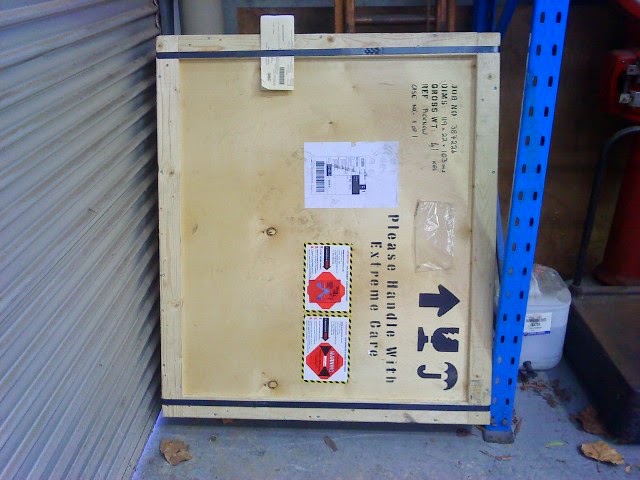
After some furious emailing a replacement screen was located in the UK, and thanks to the generosity of regular parts contributor (more to come), Adrian Schollick, we were back in business. A crate was custom made by sensational packaging experts Universal Packaging, and the screen was on its way to Australia in weeks.
It's here!!!
Once we unpacked the wonderfully protected rear screen, we quickly tested the fitment to make sure all was perfect...only to find it was no different! I put the 2 screens on top of each other for comparison; IDENTICAL!!!
So, I guess now, at great expense to the management, I now have a spare - another lesson learnt in haste and jumping to conclusions. Sigh.


No comments:
Post a Comment